The mechanical feeling from your MIDI controller is a cognitive workflow failure, not a hardware limitation.
- Your brain is overloaded trying to remember functions, which kills musical expression and timing.
- True musical connection comes from mapping for creative tasks, not just individual parameters, to build muscle memory.
Recommendation: Stop chasing features and start building an ergonomic system where the controller becomes an intuitive extension of your creative mind.
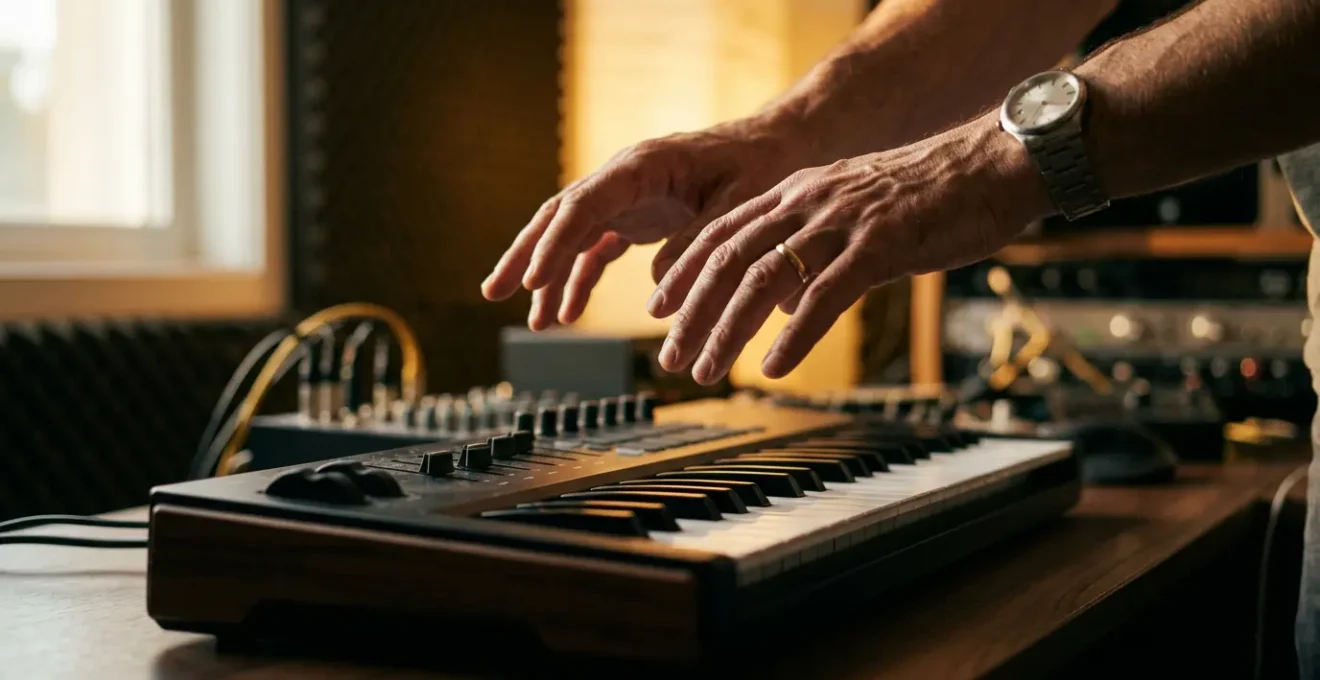
For many producers in the UK and beyond, the studio is a place of paradox. You invest in a powerful MIDI controller, a device bristling with pads, knobs, and faders, only to find it gathering dust. You revert to the mouse and keyboard, painstakingly drawing in automation curves you know you should be *performing*. Your workflow feels stiff, mechanical, and a million miles away from the fluid, expressive act of making music. The frustration is palpable: this piece of technology, designed to bridge the gap between you and your sound, has somehow become a wall.
The common advice is to « learn your gear » or « buy a better controller. » But this misses the point entirely. The issue isn’t a lack of features or a faulty product; it’s a fundamental breakdown in the relationship between your creative brain and your physical interface. The disconnect stems from excessive cognitive load—the mental effort required to translate a musical idea into a series of technical commands. When you have to stop and think, « Which knob controls the filter cutoff again? », the musical impulse dies.
But what if the solution wasn’t about learning more functions, but about needing fewer of them? What if you could transform your controller from a complex remote control into a true instrument, one that you can play with feeling and intuition? This guide is not another feature comparison. It’s a strategic manual for rewiring your entire approach. We will dismantle the barrier between you and your music by focusing on ergonomic mapping, deliberate practice, and the psychology of a seamless creative flow. This is how you stop controlling your software and start playing it.
This article provides a complete roadmap to transform your controller from a source of frustration into your most valued musical partner. The following sections will guide you through diagnosing the problem, implementing a new mapping philosophy, and developing the muscle memory to make it second nature.
Summary: Why Does Your MIDI Controller Feel Disconnected From the Music You’re Making?
- Why Does Your Controller Collect Dust Despite Being Technically Capable?
- How to Map Your Controller So It Becomes an Extension of Your Creative Thinking?
- Keys, Pads or Knobs: Which Controller Type Serves Your Production Best?
- The Controller Mistake of Buying Features You’ll Never Learn to Use
- How Long Must You Practice a Controller Before It Feels Like a Real Instrument?
- Logic, Ableton or Pro Tools: Which DAW Suits Your Genre Best?
- Hardware Synth or Plugin: Which Investment Better Develops Your Sound Design Skills?
- Why Does Your DAW Workflow Take 10 Hours When Professionals Finish in 2?
Why Does Your Controller Collect Dust Despite Being Technically Capable?
The primary reason your state-of-the-art controller feels inert is cognitive load. Every moment you spend searching for a control, remembering a mapping, or looking at the screen is a moment you’re not listening or feeling the music. This mental friction is a direct enemy of creativity. It forces you out of your right brain—the home of intuition and artistry—and into your left brain, the analytical, problem-solving processor. Music creation should be a flow state, but a poorly integrated controller introduces constant interruptions that break that state.
Scientific research into musical performance confirms this phenomenon. When a musician’s brain is burdened with an extra task, their performance suffers. As a study in the Psychology of Music Journal revealed, this isn’t just a feeling; it has measurable consequences on the final output.
Pieces performed under an additional cognitive load suffered a decrease in expressiveness. An analysis of the audio recordings revealed that for almost all performances, the durations of the pauses in between musical phrases during the performance in dual task conditions were significantly shorter.
– Muzaffer Çorlu, Chris Muller, Frank Desmet, Marc Leman, Psychology of Music Journal
This « decrease in expressiveness » is precisely the mechanical feeling producers lament. The controller, with its dozens of assignable functions, paradoxically creates the very cognitive load it’s supposed to alleviate. Instead of being a seamless bridge to the software, its complexity becomes a hurdle. This isn’t a personal failure; it’s a known barrier in the market. The industry trend towards feature-packed devices means that many controllers have a steep learning curve, demanding significant effort before they can be used intuitively. The potential is there, but the mental cost of accessing it is too high for the creative process to bear.
The solution, therefore, isn’t to master every single feature. It’s to strategically eliminate the need to think about them in the first place.
How to Map Your Controller So It Becomes an Extension of Your Creative Thinking?
The most profound shift you can make is to stop mapping parameters and start mapping tasks. A parameter is a single function, like « filter cutoff » or « reverb decay. » A task is a creative activity, like « designing a bass patch, » « mixing vocals, » or « performing a live breakdown. » By creating dedicated controller layouts for each task, you build a system that anticipates your needs. When you’re in « sound design mode, » the most important synthesis controls are at your fingertips. When you switch to « mixing mode, » those same knobs might control EQs and sends. This approach drastically reduces cognitive load because the controls are always relevant to the job at hand.
This creates a bidirectional feedback loop between you and the software. The controller isn’t just sending commands; its layout is informing and guiding your creative process, making certain actions more intuitive and accessible. Your muscle memory starts to associate a physical knob with a musical outcome, regardless of the specific plugin you’re using.
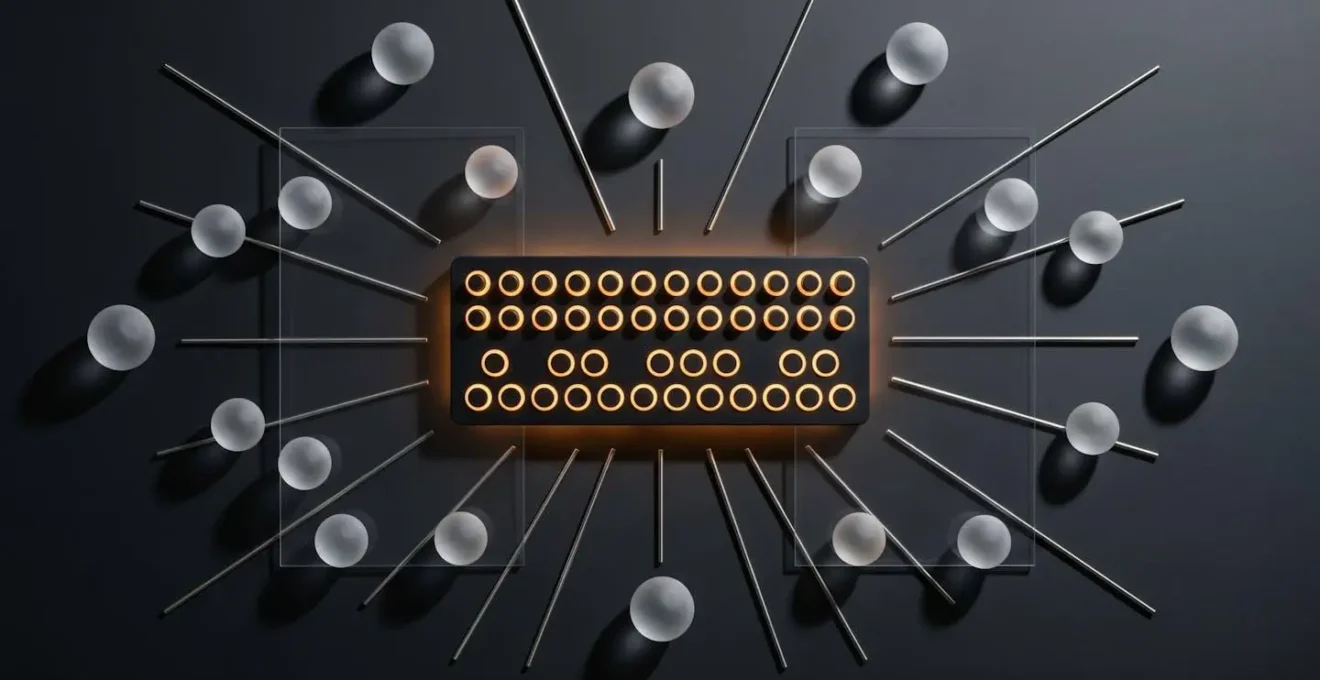
As this diagram metaphorically suggests, the goal is a seamless flow of information in both directions. Your physical actions shape the sound, and the layout of your controls shapes your physical actions. To achieve this, you need a clear, repeatable strategy for building your custom mappings. This isn’t a one-time setup; it’s an evolving process of refining your personal instrument.
Your Action Plan: The Task-Based MIDI Mapping Strategy
- Broad Parameter Assignment: Start by mapping a generous number of parameters. Include obvious ones like filters, envelopes, and LFOs, but also add less common ones to encourage sonic exploration. The goal is to have a rich palette to draw from.
- Real-time Manipulation and Recording: Loop a musical phrase and start performing with your mapped controls. Don’t just tweak—play. Record your controller movements as MIDI or audio to capture spontaneous, expressive gestures you can edit later.
- Create Distinct ‘Modes’: Group your mappings into task-based modes. For instance, a ‘Sound Design Mode’ might focus on synthesis controls, a ‘Mixing Mode’ on faders and pans, and a ‘Performance Mode’ on live effects and scene triggers.
- Practical Testing and Refinement: The map is not the territory. Use your mappings in real projects to discover what works and what doesn’t. Adjust knob ranges, invert controls for a more natural feel, and create custom macros for complex actions you perform often.
- Document and Template: Once a mapping feels intuitive, document it with notes or screenshots. Most importantly, save your work as a template in your DAW so you can instantly recall your personalized instrument in any future project.
By consistently applying this method, you are no longer just configuring software; you are building a bespoke musical instrument designed by you, for you.
Keys, Pads or Knobs: Which Controller Type Serves Your Production Best?
The physical interface of your controller—the very texture and response of its keys, pads, and knobs—profoundly shapes your musical output. This isn’t just about ergonomics; it’s about how different physical forms encourage different ways of thinking. Choosing the right type of controller isn’t about features; it’s about matching the physical interface to your creative methodology.
A traditional keyboard, for example, is rooted in centuries of music theory and lends itself to melodic and harmonic composition. Velocity-sensitive pads, on the other hand, are inherently percussive and rhythmic. Their rise in popularity is no accident; according to market analysis from Fortune Business Insights, pad controllers are expected to grow at the highest CAGR due to their dynamic, tactile interface appealing to beat-makers and live performers. A bank of faders encourages a « mixing desk » mindset, focused on balance and levels, while a grid of knobs invites a « synth programmer » approach of detailed sonic sculpting.
The most advanced controllers, known as MPE (MIDI Polyphonic Expression) devices, take this connection between touch and sound to another level, but they also highlight the importance of design philosophy.
Case Study: The Opposing Philosophies of Roli Seaboard and Linnstrument
The Roli Seaboard Rise 2, with its continuous, squishy « keywaves, » encourages a fluid, expressive playing style reminiscent of a string instrument. Its design is based on five dimensions of touch, offering an incredibly wide pitch bend range of up to 96 semitones. This makes it ideal for flowing melodies and subtle, continuous modulation. In stark contrast, the Linnstrument uses a rigid grid of 128+ pads, also recognizing five gestures. Its layout is modeled after a guitar fretboard, promoting pattern-based and polyphonic thinking rather than the linear approach of a piano. The tactile experience is completely different: one is about continuous surface expression, the other about precise, discrete pad control.
This demonstrates that there is no single « best » controller type. The Roli’s surface would be frustrating for a finger drummer, while the Linnstrument’s grid might feel restrictive to a classically trained pianist. The right choice depends on the kind of musical thought you want to facilitate. Do you think in patterns, melodies, or textures? Your answer will point you toward the interface that will feel less like a tool and more like a natural extension of your hands.
The key is to choose an interface that minimizes the friction between your musical idea and its execution, providing the most direct haptic feedback for your specific genre and workflow.
The Controller Mistake of Buying Features You’ll Never Learn to Use
In the quest for the perfect setup, producers often fall into the « feature fallacy »: the belief that more features equal more creative potential. Manufacturers feed this belief with controllers that boast dozens of knobs, endless menu pages, and complex sequencers. The reality, however, is that this feature bloat is a primary source of cognitive load. A controller with 50 controls you barely use is musically inferior to one with 8 controls you know intimately.
Every unused feature is a distraction, a drain on your mental bandwidth. The time spent navigating menus or trying to remember a secondary function is time stolen from creative flow. This complexity is a significant barrier to adoption for many users. As confirmed by DataIntelo’s global MIDI controller market research, advanced controllers with numerous features require extensive training or technical knowledge to fully utilize, which limits their appeal. You buy a flagship controller to solve your workflow problems, only to find you’ve acquired a new, more complex set of problems.
The workflow-transforming alternative is to embrace a philosophy of intentional minimalism. This doesn’t necessarily mean buying a simpler device, but rather focusing on mastering a small, core set of controls that have the biggest impact on your sound.
This image of a single, isolated knob captures the essence of this approach. Instead of a sea of options, you have one point of focus. By deeply learning the feel and range of a handful of high-quality knobs and faders mapped to your most-used parameters, you build profound muscle memory. You develop a physical, intuitive relationship with those controls, allowing you to manipulate sound with your eyes closed, guided by your ears alone. This is something a sprawling, complex controller often prevents.
Before your next purchase, ask not « What can this controller do? » but « What are the 10 essential functions I need immediate, tactile access to? » Find the controller that does those 10 things exceptionally well, and ignore the rest.
How Long Must You Practice a Controller Before It Feels Like a Real Instrument?
There’s no magic number of hours, because the answer depends not on the quantity of practice, but on its quality. Turning a piece of plastic and silicon into an instrument requires deliberate practice—focused, goal-oriented exercises designed to build proprioceptive awareness and muscle memory. It’s the same process a guitarist undergoes to find a chord without looking at the fretboard. You must practice until the controller’s layout is ingrained in your physical memory.
Randomly twisting knobs is not practice. Deliberate practice involves isolating specific skills. For instance, spend five minutes just finding the « filter cutoff » knob with your eyes closed. Then, the « resonance » knob. Then, manipulate both simultaneously. These drills forge a direct neural pathway between your musical intent and your physical action, bypassing the analytical part of your brain that causes hesitation. This is crucial, as research shows how mental strain directly harms musicality.
Previous research demonstrated that a cognitive load impairs regular timing production, suggesting the role of a cognitively controlled system for the temporal control of body movements. A typical effect observed in experiments investigating timing production under heightened cognitive load is a tendency to speed up.
– Kochman, Demey, Moelants, Leman, Frontiers in Psychology
This « tendency to speed up » or rush is a classic sign of a performer who is thinking about their tool instead of the music. To overcome this, your practice must be structured. Start by mastering 2-3 essential controls until their operation is automatic. Then, gradually add more. This progressive approach avoids the cognitive overload that leads to frustration and bad habits. Record your practice sessions and listen back. Not for musical ideas, but to analyze your control. Were your movements fluid? Did you achieve the sound you intended? This feedback loop is what separates aimless tweaking from true instrumental practice.
Ultimately, a controller feels like a real instrument when you no longer have to think about using it. This state of unconscious competence is not achieved by time alone, but by focused, intentional effort.
Logic, Ableton or Pro Tools: Which DAW Suits Your Genre Best?
While producers can endlessly debate the sonic merits of different DAWs, the more relevant question for controller integration is: which DAW’s *philosophy* best aligns with your desired workflow? Your Digital Audio Workstation is not a neutral platform; its design encourages certain ways of working. Choosing a DAW should be as much about its synergy with your hardware and creative process as it is about its built-in plugins or editing features.
Ableton Live, with its Session View, is built for improvisation, looping, and live performance. It naturally pairs with grid-based controllers like the Ableton Push or Novation Launchpad, which are designed to launch clips and manipulate scenes. This creates a powerful, performance-oriented ecosystem. Logic Pro, with its more traditional linear timeline and deep composition tools like the Step Sequencer and Live Loops, works brilliantly with keyboard controllers for songwriting and detailed arrangement. Pro Tools, the long-standing industry standard for recording and mixing, has a workflow that mimics a physical mixing console, making it a natural fit for controllers with long-throw motorized faders for precise automation.
The concept of deep integration is key here. Some controllers are built from the ground up to work with a specific DAW, offering plug-and-play functionality that goes far beyond simple MIDI mapping. A controller like the Ableton Push isn’t just mapped to Live; it’s an extension of Live’s interface. This tight bond minimizes setup time and cognitive load, but it also ties you to a specific ecosystem. A more generic controller offers greater flexibility across different DAWs but requires more upfront effort in custom mapping to achieve a similar level of intuitive control.
The goal is to create a unified system where the DAW and the controller feel like two halves of the same instrument, each complementing the other’s strengths to serve your creative flow.
Hardware Synth or Plugin: Which Investment Better Develops Your Sound Design Skills?
The debate between hardware and software synthesizers often revolves around sound quality, but from a workflow perspective, the most significant difference is tactility. A hardware synth offers a one-to-one relationship between its physical controls and its sound engine. Each knob has a single, dedicated function. This limitation is, paradoxically, its greatest strength for developing sound design skills.
This fixed interface forces you to build muscle memory. The filter cutoff is always *that* knob in *that* location. This direct, haptic feedback loop encourages you to « play » the synthesizer as an instrument, making changes based on what you hear rather than what you see on a screen. It fosters a deep, intuitive understanding of the synthesis signal path. As the experts at Sound on Sound magazine emphasize, this off-screen approach is fundamental to intuitive creation.
The advantage of this technique is that it ignores the screen and relies on your ears and brain to feel the right settings. We’ll be mapping hardware knobs, faders and buttons to various sound control parameters in order to manipulate them in real time.
– Sound on Sound Editorial, MIDI Mapping For Intuitive Sound Design
Plugins, while infinitely more flexible and affordable, present a challenge. A single MIDI controller is often tasked with controlling dozens of different plugins, each with a unique layout. Without a rigorous and consistent mapping strategy, this leads to the same cognitive load problem: you’re constantly re-learning and re-adapting. However, when you apply the principles of task-based mapping and dedicate a controller (or a specific mode on your controller) to act as a « hardware-style » front-end for your favorite plugin, you can achieve the best of both worlds: the tactile immediacy of hardware with the flexibility of software.
Whether you choose a physical synth or a well-mapped plugin, the objective is the same: to create a consistent, tactile connection to your sound that allows you to sculpt with your ears, not your eyes.
Key Takeaways
- The disconnect from your controller is caused by cognitive load, not a lack of features.
- Shift from mapping individual parameters to mapping creative tasks (e.g., ‘sound design mode’, ‘mixing mode’).
- Choose your controller type (keys, pads, knobs) based on the style of musical thinking you want to encourage.
Why Does Your DAW Workflow Take 10 Hours When Professionals Finish in 2?
The vast difference in speed between an amateur and a professional producer often comes down to one thing: a frictionless workflow. Professionals don’t necessarily have better ideas, but they can capture, develop, and execute them with far less resistance. They have eliminated the tiny moments of hesitation that accumulate and kill momentum. A significant part of this efficiency comes from having a deeply integrated controller that functions as a true instrument.
When you can grab a fader to adjust a level, twist a knob to open a filter, or hit a pad to trigger an effect without conscious thought, you are operating at the speed of creativity. You are making thousands of micro-decisions per minute, shaping the sound in real-time just as a guitarist shapes a note with their fingers. This is a stark contrast to the start-stop process of hunting for a parameter with a mouse, drawing in an automation point, and then hitting play to see if it worked. Each of these steps breaks the creative flow and adds seconds, which quickly turn into hours over the course of a session.
By investing time upfront to build a personalized, task-based mapping system and develop the muscle memory to use it, you are making a long-term investment in speed and musicality. The hours spent practicing your controller are paid back tenfold in the studio. You spend less time operating your software and more time making music, which is the ultimate goal. The efficiency gained is not just about finishing tracks faster; it’s about staying in the creative zone long enough for magic to happen.
Transforming your MIDI controller from a remote control into an extension of your musical mind is the single most powerful step you can take to close the gap between your creative vision and your final track.