The richness you hear in professional tracks isn’t from expensive gear; it’s from a deep understanding of psychoacoustic principles that create contrast, space, and intentional instability.
- Professional depth comes from managing dynamic and spectral contrast, not just adding layers or volume.
- Warmth and ‘human feel’ are created by deliberately introducing subtle imperfections and non-linearities that digital systems lack by default.
Recommendation: Stop chasing the ‘perfect’ plugin and start thinking like an architect—shaping the listener’s journey through strategic use of space, texture, and dynamics.
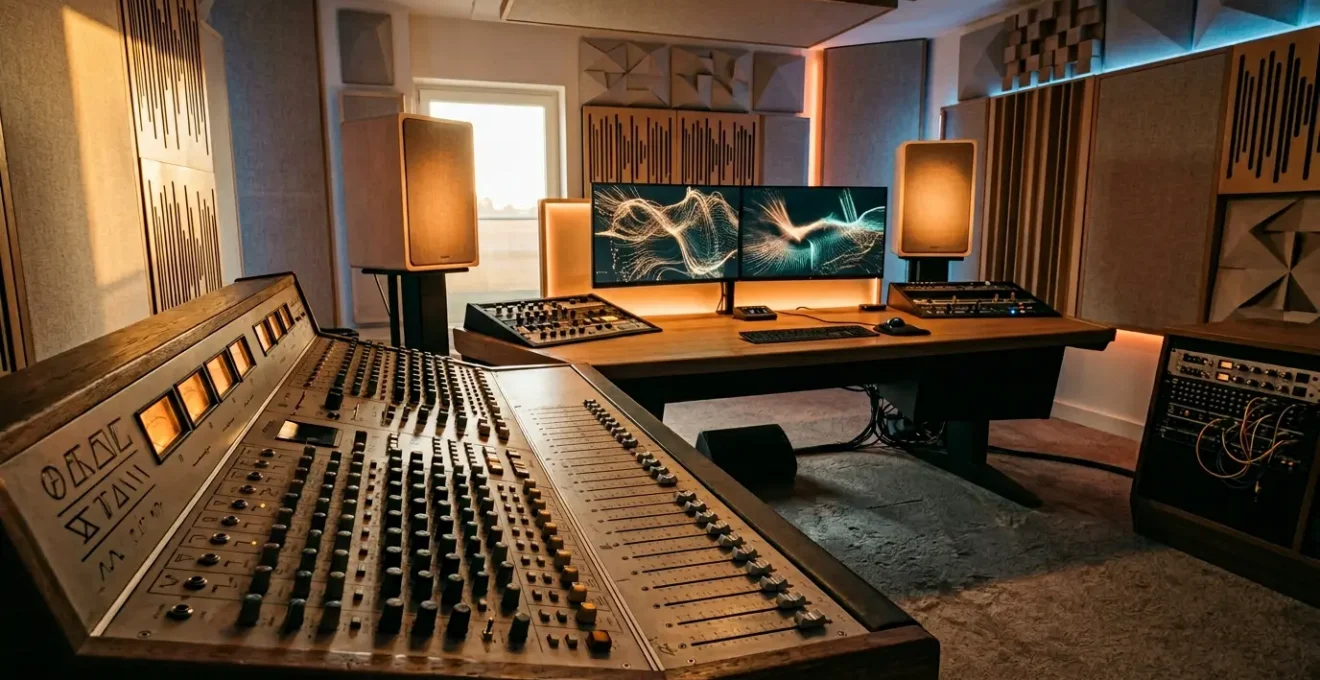
You’ve spent hours meticulously programming a beat, layering synths, and tweaking EQs. You’ve used the same top-tier plugins you see the pros use. Yet, when you A/B your track against a commercial release, the difference is stark. Theirs is a rich, immersive world; yours feels like a two-dimensional sketch. It’s a frustration every bedroom producer in the UK knows intimately. The common advice is a repetitive cycle of « use more compression, » « EQ the mud, » or « buy a better synth, » but this rarely solves the fundamental problem.
The issue isn’t a lack of tools, but a misunderstanding of the sonic canvas. We’re taught to fill the frequency spectrum, but rarely taught how to create depth and dimension within it. We obsess over the quality of individual instruments, but neglect the relationships between them. This leads to mixes that are technically « full » but emotionally sterile and sonically flat. They lack the push and pull, the breath, and the life that makes a professional track compelling.
But what if the secret isn’t about adding more, but about creating deliberate contrast? What if the key to a rich sound lies not in digital perfection, but in embracing intentional instability? This guide moves beyond the surface-level tips. We will deconstruct the core principles that separate amateur mixes from professional productions. We’ll explore how to manage stereo width, create explosive dynamic shifts, choose and layer textures for clarity, and inject that elusive « analog warmth » and human feel into your digital productions. It’s time to stop fighting your tools and start making them work for you.
To navigate these advanced concepts, this article is structured to build your understanding from the ground up. The following summary outlines the key areas we will explore to transform your production workflow.
Summary: From Thin Mixes to Rich Productions
- Why Does Your Mix Collapse to Mono While Commercial Tracks Maintain Stereo Width?
- How to Make Your Chorus Explode After a Sparse Verse Without Just Adding Volume?
- Warm Pad or Bright Arpeggio: Which Texture Serves Your Track Better?
- The Layering Mistake That Turns Your Full Mix Into a Cluttered Wall of Noise
- In What Order Should Textures Enter and Exit to Keep Listeners Hooked for 4 Minutes?
- How to Make Your Digital Synths Sound Warm Without Spending £5,000 on Hardware?
- Why Does Moving Your Mic 10cm Change the Sound More Than Buying a Better One?
- Why Do Your Digital Productions Sound Sterile Despite Using the Same Plugins as Professionals?
Why Does Your Mix Collapse to Mono While Commercial Tracks Maintain Stereo Width?
The perception of a ‘wide’ mix is one of the most sought-after qualities in modern production. Yet, many producers fall into the trap of using stereo-widening plugins that create a superficially impressive sound on headphones, only to find their mix becomes a thin, phasey mess on other systems. The irony is that while over 96% of consumer playback devices now support full stereo, many real-world listening environments—like clubs, restaurants, or cheap Bluetooth speakers—are effectively mono. A professional mix sounds wide everywhere because it is built on a solid mono foundation.
The collapse happens when stereo information relies too heavily on phase and timing differences that cancel each other out when summed to mono. The low end, in particular, loses all its punch. Professionals build their mixes from the center out. They ensure the core elements—kick, snare, bass, lead vocal—are powerful and clear in mono first. Width is then created intentionally by panning other elements, using stereo effects like delays and reverbs, and employing advanced techniques like Mid/Side EQ. This creates genuine stereo information that doesn’t rely on psychoacoustic trickery that falls apart.
As the esteemed iZotope Audio Engineering Team notes in their « Mono vs. Stereo in Audio Mixing Guide »:
It is easier to create a good mono mix that is compatible in stereo, than to make a good stereo mix that is compatible in mono.
– iZotope Audio Engineering Team, Mono vs. Stereo in Audio Mixing Guide
This single piece of advice is a game-changer. By constantly checking your mix in mono, you force yourself to make better decisions about EQ, balance, and arrangement, ensuring your track has impact regardless of the playback system. True width is not an effect you slap on at the end; it’s a structural property of a well-balanced mix.
How to Make Your Chorus Explode After a Sparse Verse Without Just Adding Volume?
The desire for a chorus that « explodes » is universal, but the amateur approach is almost always the same: push the faders up. This often leads to a distorted, cluttered mess that fatigues the listener and offers no real emotional impact. The professional solution is not about loudness, but about psychoacoustic contrast. The impact of the chorus is defined entirely by what comes before it. By making the verse smaller, sparser, and narrower, you create an « energy vacuum » that makes the chorus feel immense by comparison.

Think of it like a film director using a quiet, tense scene before a huge action sequence. The key is to manipulate three elements: dynamic range, frequency spectrum, and stereo width. In the verse, you might use a high-pass filter on many instruments, keep the arrangement minimal, and pan most elements closer to the center. Then, when the chorus hits, you open up the filters, bring in new layers (like harmony pads or counter-melodies), and push supporting elements wide into the stereo field. The perceived change in energy is massive, even if the peak volume level only increases by a decibel or two.
Case Study: Producer Alex’s Chorus Impact Transformation
A case study from Mastering The Mix documented how a producer transformed a flat chorus by creating an ‘energy vacuum’. They lowered verse levels by 2-3dB, simplified the verse arrangement, and kept it sonically narrow. For the chorus, they widened the stereo field significantly and cleaned up the first beat with sidechain ducking to ensure maximum punch. The result was a dramatic increase in emotional impact and listeners reporting « goosebumps when the chorus hit, » all without simply cranking up the volume.
This technique shifts your thinking from being a simple « level manager » to an « energy architect. » You’re not just mixing sounds; you’re guiding the listener’s emotional journey by manipulating tension and release. The explosion of the chorus is earned in the restraint of the verse.
Warm Pad or Bright Arpeggio: Which Texture Serves Your Track Better?
In a dense mix, every sound must have a purpose. Choosing between textures like a « warm pad » or a « bright arpeggio » isn’t just an aesthetic choice; it’s a strategic decision about the narrative function of that element. Your brain processes these sounds in fundamentally different ways. Understanding this psychoacoustic effect is key to building arrangements that feel intentional and cohesive, rather than a random collection of cool sounds.

Warm textures—think of a soft, slow-attacking synth pad with the high frequencies rolled off—are psychologically comforting. They fill space, provide a harmonic foundation, and create a sense of stability and warmth. They are the sonic equivalent of a soft-focus background, directing the listener’s attention elsewhere. Conversely, bright, transient-heavy textures like a sharp arpeggio or a crisp hi-hat pattern grab our attention. They create energy, forward momentum, and a sense of alertness. Their job is often to provide rhythmic drive and cut through the mix.
The research team at PathBits Music Production offers a perfect summary of this principle:
Warm textures (fewer high-order harmonics, slower attack) are perceived as non-threatening and comforting. Bright, transient-heavy textures trigger our brain’s attention and create a sense of forward motion.
– PathBits Music Production Research, The Art of Dynamic Range in Music Production
The mistake many producers make is using both types of textures for the same purpose, leading to a cluttered mix where nothing stands out. If your arpeggio is meant to provide rhythmic energy, does it really need a thick reverb that turns it into a pad? If your pad is meant to be a warm bed, does it need a bright, buzzy filter setting that competes with the lead vocal? By asking « What is the job of this sound? »—to comfort or to alert, to support or to lead—you can make smarter, more effective texture choices.
The Layering Mistake That Turns Your Full Mix Into a Cluttered Wall of Noise
« Layer your sounds to make them bigger » is one of the most common pieces of production advice, and it’s also one of the most dangerous. Unchecked, it leads directly to the « wall of noise » effect: a mix that is loud and dense but lacks clarity, punch, and definition. This is almost always caused by a phenomenon called frequency masking, where two sounds occupying the same frequency range compete, and the louder one effectively makes the quieter one invisible to the human ear. According to iZotope’s research, frequency masking is identified as one of the primary causes of muddy mixes, with the conflict between kick drums and basslines being the most common layering issue.
The professional approach to layering isn’t about stacking identical sounds. It’s about thinking in three dimensions: Frequency, Time, and Stereo Position. Instead of layering two full-range piano sounds, a pro might layer a piano’s percussive low-mids with the soft, high-frequency attack of a synth pad and the wide, ambient tail of a reverb. Each layer has its own distinct job and its own space to live.
This is a strategic, architectural approach to sound. You are not simply piling bricks on top of each other; you are building a structure where each element supports the others without getting in their way. Before adding a new layer, ask yourself:
- Frequency: Does this layer fill a frequency gap, or is it fighting with an existing sound? (Use EQ to carve out space).
- Time: Does this layer have a different attack/decay characteristic? (e.g., a sharp pluck layered with a slow swell).
- Stereo Position: Can I create separation by panning this layer away from its counterpart?
By treating each layer as a specialist with a specific role, you build a full, rich soundscape that is both powerful and transparent, avoiding the dreaded mud that plagues so many amateur mixes.
In What Order Should Textures Enter and Exit to Keep Listeners Hooked for 4 Minutes?
A static loop, no matter how good it sounds, becomes boring within 30 seconds. A professional production, on the other hand, can feel captivating for four minutes or more. The difference lies in the acoustic narrative. The arrangement is a story, with a beginning, rising action, a climax, a twist, and a resolution. Textures are your characters and plot devices, and the order in which they enter and exit determines the pacing and emotional arc of your track.
A masterful example of this is seen in how professionals build anticipation. They rarely introduce a key element at full volume out of nowhere. Instead, they’ll drop « sonic breadcrumbs »—a heavily filtered and reverbed version of the main synth might appear in the intro, or a single hi-hat from the main drum loop might play in the pre-chorus. This teases the listener, creating subconscious anticipation for the « real » element to arrive. This builds tension and makes the payoff, when the element finally enters in its full glory, infinitely more satisfying.
Arrangement in Action: Lorde’s ‘Homemade Dynamite’
An iZotope analysis of Lorde’s ‘Homemade Dynamite’ perfectly demonstrates this textural storytelling. During the verse, her vocals are intimate and panned centrally. As the track builds to the chorus, her backing vocals begin to subtly widen. In the chorus itself, her vocals explode into a wide stereo image, creating a huge sense of arrival and emotional release. This strategic manipulation of a single texture’s width—from narrow to wide—is a key part of the song’s narrative journey and massive payoff.
To keep a listener hooked, your arrangement must be in constant, subtle evolution. A great rule of thumb is to introduce or alter one small textural element every 8 bars. This could be adding a new percussion layer, automating a filter to open up, or subtly widening a synth pad. These small changes keep the listener’s brain engaged, always discovering something new, and ensure your track has the forward momentum to carry them all the way to the end.
How to Make Your Digital Synths Sound Warm Without Spending £5,000 on Hardware?
One of the biggest tells of a « bedroom » production is the sterile, cold sound of digital synths. Even when using high-quality plugins, they can lack the life and character of their analog counterparts. The reason isn’t the sound quality itself, but the perfection. Vintage hardware is beloved for its intentional instability: tiny, almost imperceptible fluctuations in pitch, timing, and tone that make it feel organic and « alive. » Digital synths, by contrast, are mathematically perfect, and that perfection is what sounds sterile to our ears.
The secret to achieving analog warmth in the box is to systematically break that perfection. It’s not about finding one magic « analog » plugin, but about layering multiple, subtle instances of non-linear processing. This is a technique called serial saturation. You might run a synth through a tape emulation plugin with the drive set very low, then into a tube emulation plugin (also set low), and finally a transformer emulation. Each stage adds its own subtle harmonics and character. Individually, they do very little, but combined, they create a complex, rich warmth that a single, heavy-handed distortion plugin can never achieve.
Beyond saturation, you need to introduce movement. By mapping very slow, subtle LFOs (Low-Frequency Oscillators) to parameters like oscillator fine-tune, filter cutoff, and even volume, you can recreate the natural « drift » of analog circuits. This constant, subtle motion is the key to fooling the brain into perceiving the sound as organic and real. It’s this dedication to micro-detail that elevates a digital synth from a static sound into a living, breathing instrument.
Your Action Plan: Achieving Analogue Warmth
- Intentional Instability: Map subtle, slow LFOs to oscillator fine-tuning (for pitch drift), filter cutoff, and volume to mimic the inconsistencies that make hardware feel ‘alive’.
- Serial Saturation Stage 1: Apply a tape saturation plugin with subtle settings (drive at 20-30%) to add gentle harmonic warmth without obvious distortion.
- Serial Saturation Stage 2: Follow with a tube saturation plugin, also at gentle settings, to add a different flavour of harmonic complexity.
- Serial Saturation Stage 3: Complete the chain with a transformer emulation plugin to mimic the cumulative effect of an analog console chain; each stage’s contribution should be barely audible on its own.
- Feedback Loop Recreation: Set up a send from your synth track, place a short delay or phaser on the return channel, then feed a small amount of that return back into itself to create complex, evolving resonances that mimic analog feedback circuits.
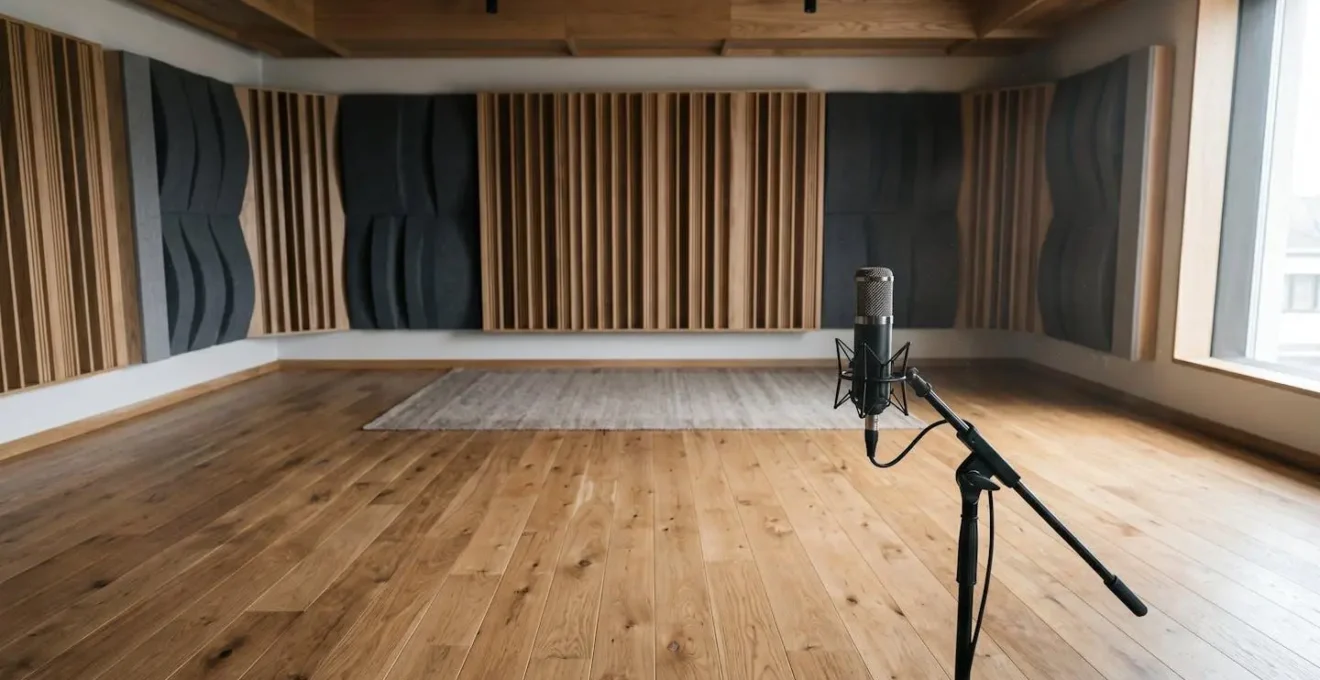
Why Does Moving Your Mic 10cm Change the Sound More Than Buying a Better One?
In the quest for better sound, bedroom producers often fixate on gear acquisition. We convince ourselves that a new, more expensive microphone is the missing piece of the puzzle. Yet, the brutal truth is that the room you’re recording in, and the microphone’s position within it, have a far greater impact on the final sound than the microphone itself. Moving your mic just a few centimetres can drastically change the tone, taming harsh frequencies or adding body in a way no EQ plugin can replicate.
This is because a microphone doesn’t just capture the sound source; it captures the source’s interaction with the room. Every reflection from the walls, floor, and ceiling arrives at the microphone at a slightly different time, causing phase cancellations (which create thin, hollow sounds) and reinforcements (which create resonant peaks). Moving the mic changes its relationship to these reflections, effectively acting as the most powerful, natural EQ you have. A position 10cm to the left might be in a « null » for a harsh 3kHz room mode, instantly smoothing the sound at the source.
This reality is often overlooked in our digitally-focused world, but it’s a fundamental principle of acoustics. As a study from researchers at Osaka University on room acoustics states:
The issues often do not arise from the equipment itself, but from poor room acoustics and a bad spatial setup. A simple replacement of your microphone with a better one is often insufficient and audio quality remains unsatisfactory.
– Room Acoustics Research Team, Osaka University, Room acoustics affect communicative success in hybrid meeting spaces
Spending an hour experimenting with mic placement—closer, further, higher, lower, angled differently—will yield far greater improvements than spending £1000 on a new mic to put in the same bad spot. Treat your microphone and your room as a single, interactive instrument. Record, listen, move, and repeat. Getting the sound right at the source is the ultimate workflow hack, saving you countless hours of frustrating « fix it in the mix » battles later.
Key takeaways
- Professional richness is built on psychoacoustic contrast, not just volume or layering.
- Embrace ‘intentional instability’—subtle pitch drift, saturation, and micro-timing—to overcome digital sterility.
- Your arrangement is a story; use textural changes to create a narrative arc that hooks the listener from start to finish.
Why Do Your Digital Productions Sound Sterile Despite Using the Same Plugins as Professionals?
This is the ultimate question, and the answer synthesizes everything we’ve discussed. Your productions sound sterile because they are too perfect. Digital audio workstations and plugins are designed for precision, consistency, and repeatability. But music is fundamentally a human art form, and humanity is defined by its beautiful imperfections. The clinical perfection of the digital grid is the direct enemy of the « vibe » or « groove » you feel in professional tracks.
Professionals, even when working entirely « in the box, » spend a huge amount of their time fighting this perfection. They are systematically re-injecting the human element. They use techniques like we’ve covered: creating dynamic contrast between sections, adding intentional instability with saturation and LFOs, and building a compelling acoustic narrative. But it goes even deeper, down to the micro-level. They will manually shift drum hits a few milliseconds off the grid to create a more organic feel. They’ll use their DAW’s « humanize » function to randomize the velocity and timing of MIDI parts. They’ll even add subtle layers of vinyl crackle or tape hiss, sidechained to the music so it « breathes » with the track, providing a subconscious textural bed that our brains associate with real, physical media.
As veteran producer and educator Warren Huart of Produce Like A Pro often emphasizes, even fundamental checks are part of this process of avoiding digital pitfalls:
Switch to mono periodically while mixing to check the mono compatibility of your mix. Simply switching to mono can reveal phase issues quite dramatically—sometimes even whole portions, such as the low end, can disappear completely due to frequency cancellation.
– Warren Huart, Produce Like A Pro
This constant vigilance against the default state of digital audio is the final layer of the craft. It’s a mindset shift: your job as a producer isn’t just to write and arrange music, but to be the « ghost in the machine, » deliberately introducing the subtle, pleasing flaws that make a track feel less like a computer program and more like a performance.
Stop chasing the next plugin and start applying these principles. Open your last project, and instead of adding something new, try creating contrast by taking something away or introducing a subtle imperfection. That is where the professional sound you’re searching for truly begins.